
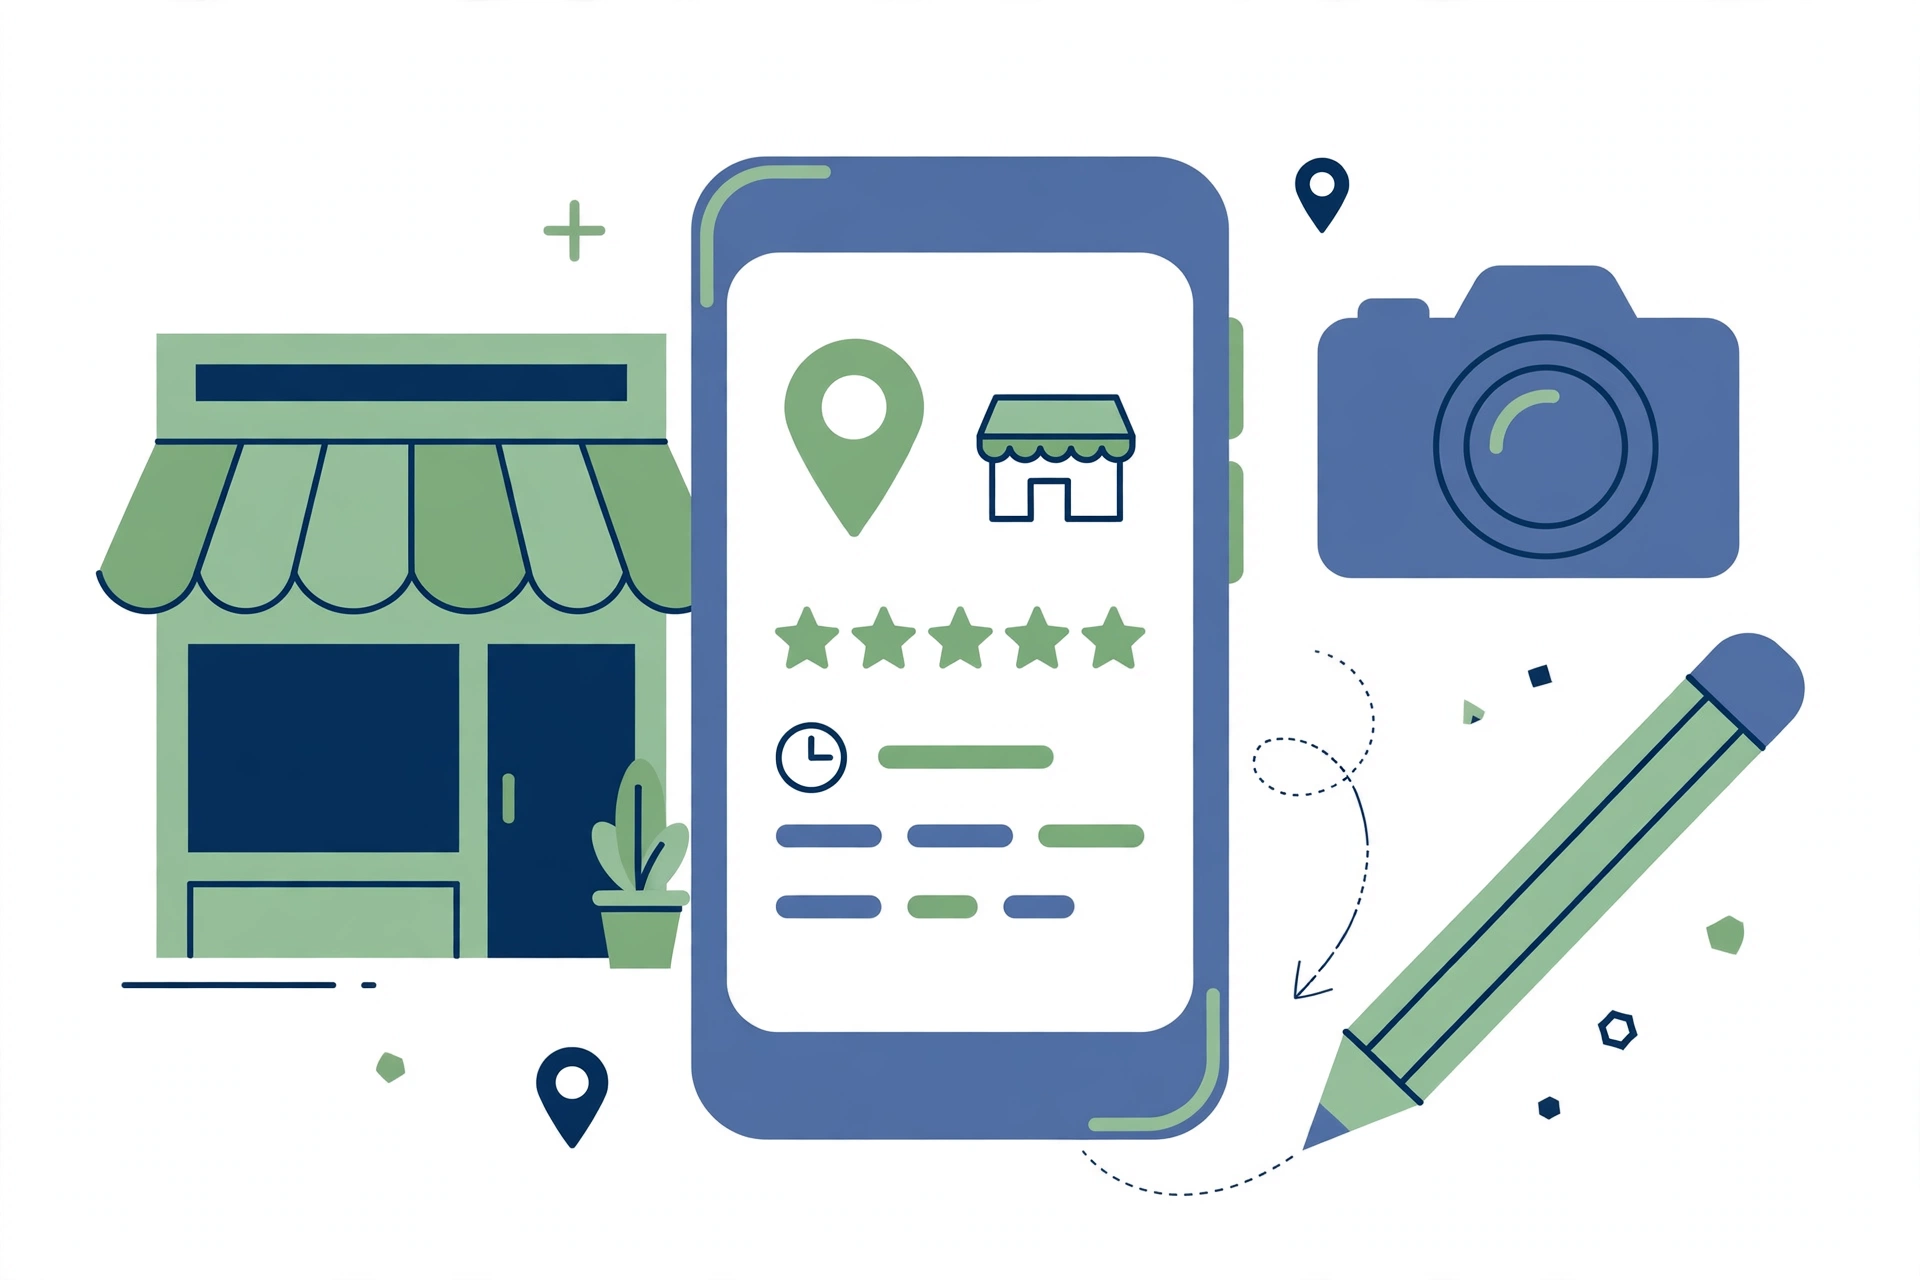
When someone searches for a plumber, a dentist or a café near them, the first thing they see is usually not a website — it is the business listing on Google, with a map, opening hours, photos and reviews. That listing is a Google Business Profile, and it is free. Creating one is the single most valuable step a local business can take online, because it is how you show up in Google Maps and in the local results that sit above the normal search listings.
This guide walks through how to create a Google Business Profile step by step, from the first sign-up to the settings that keep it working for you.
What You Need Before You Start
Before you open the sign-up page, gather four things. First, the exact name of your business, as it appears on your shop sign and your website — not a version stuffed with keywords, because Google penalises that. Second, the full address, including the correct postcode. Third, a phone number customers can actually reach you on. Fourth, your opening hours, including any days you are closed.
You will also need a Google account. Use a business account you control, not a personal account that belongs to an employee who might leave. If several people manage the listing, you can add them later as managers without sharing the main login.
It helps to have a few photos ready too: the outside of the premises, the inside, your team at work, and your products or services. Listings with photos get noticeably more attention than listings without them.
Step 1: Create the Profile
Go to Google Business Profile and sign in with your Google account. Google’s own help pages explain how to add your business to Google. Enter your business name first. As you type, Google will suggest existing businesses — if yours already appears, it may mean a listing exists that someone else created. Claim it rather than creating a duplicate, because duplicate listings confuse customers and split your reviews.
Next, choose your business category. This is more important than it looks: the category decides which searches your listing can appear for. Pick the one that matches your main service — “Plumber”, not “Home Services”, if plumbing is what you do. You can add extra categories later, but the primary one should be your core business.
Then enter the address and contact details. If customers visit your premises, enter the full address and it will show on the map. If you go to customers instead — a mobile mechanic, for example — you can hide the address and set a service area instead, listing the towns or regions you cover.
Step 2: Verify Your Business
Google needs to confirm the business is real before the listing goes live in full. Verification usually happens by postcard: Google mails a code to the business address, and you enter it in your profile. The postcard normally arrives within a week or two.
Some businesses can verify by phone, text or email instead, and Google will show the options available to you during setup. Whichever method you get, do not skip this step. Until the listing is verified, you cannot reply to reviews, post updates, or be sure the listing appears in search. The waiting is annoying, but it is also what keeps fake listings off the map.
While you wait, you can still fill in the rest of the profile — description, hours, photos, services — so that the moment verification lands, the listing is complete.
Step 3: Fill In Every Field
A half-finished profile looks unfinished, and Google favours complete ones. Work through every section:
Description. Write two or three sentences about what you do, in plain words, for a customer — not a list of keywords. Mention your main services and the area you serve.
Hours. Set your regular hours, plus special hours for holidays. Wrong hours are one of the most common complaints in reviews, and they cost you real customers who turn up to a closed door.
Services and products. List what you actually offer, with prices where they are standard. This helps your listing appear for specific searches, not just your business name.
Photos. Add the photos you prepared: exterior, interior, team, products. Keep adding new ones over time — a listing whose newest photo is two years old looks neglected. Our guide to local SEO for small business explains how photos and other profile details feed into local rankings.
Attributes. These are the small details — wheelchair access, free Wi-Fi, outdoor seating, women-led, and dozens more. Tick the ones that are true. They help customers choose you, and they appear in the listing itself.
Step 4: Get Reviews and Reply to Them
Reviews are the lifeblood of a Business Profile. Ask happy customers to leave one — a short message after a job is done, or a link on a receipt, works better than a sign on the wall. Never pay for reviews or write your own, because Google removes fake ones and can suspend the listing.
Reply to every review, good and bad. Thank the happy customers by name, and answer unhappy ones calmly: acknowledge the problem, say what you will do about it, and invite them to contact you directly. A thoughtful reply to a bad review often impresses future customers more than the review itself puts them off.
Reviews also affect rankings. Our breakdown of local SEO ranking factors puts reviews among the strongest signals for the local map pack, which is why this step deserves ongoing attention, not a one-time push.
Step 5: Keep the Profile Alive
A Business Profile is not a set-and-forget listing. Post updates when you have news — a new service, a seasonal offer, a change in hours. Posts appear in your listing and give customers a reason to choose you over the competitor with the silent profile.
Check the insights Google provides: how many people found you in search versus Maps, what they searched for, and how many called or asked for directions. Those numbers tell you which searches bring customers, and whether your category and description are working.
Update the profile whenever something changes: new hours, a new phone number, a new location. And if your business grows to several locations, Google lets you manage them all from one account — see its guide to adding multiple locations. Keeping every location consistent is what separates a tidy multi-location brand from a messy one. Once your Google profile is accurate, you can copy it to Bing as well — but read the disadvantages of syncing Bing Places with Google Business Profile first, because the sync is one-way, you cannot pick which listings transfer, and you lose direct editing on Bing.
Frequently Asked Questions
Is a Google Business Profile free?
Yes. Creating and managing a Google Business Profile costs nothing. Google may offer paid advertising separately, but the listing itself, including posts, photos and reviews, is free.
How long does it take to create a Google Business Profile?
The setup itself takes about 15 to 30 minutes. Verification is the slow part — a postcard code usually takes one to two weeks to arrive by mail.
What is the difference between a Google Business Profile and a Google Business Page?
They are the same thing. Google used to call it Google My Business, then Google Business Page, and now Google Business Profile. The current name is Google Business Profile.
Do I need a website to create a Google Business Profile?
No, you can create a profile without a website, but having one helps: it gives customers somewhere to learn more, and it strengthens your local rankings. See why SEO is important for the wider picture.
Can I manage more than one location?
Yes. One Google account can manage many Business Profiles, and Google provides bulk tools for businesses with multiple locations.
Leave a Reply